How to Extract Beeswax for Candles
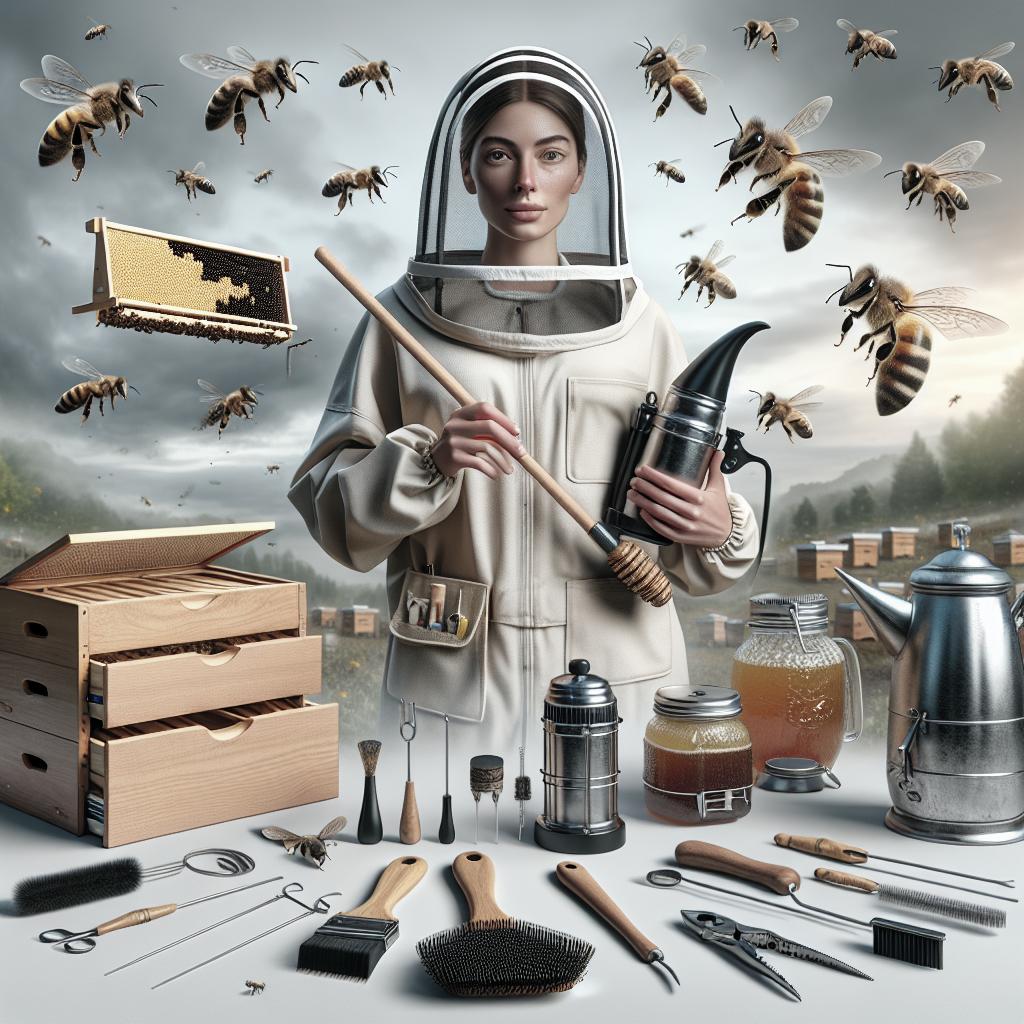
Beeswax is a wonderful natural product often used in making candles, cosmetics, and various other crafts. Extracting it, however, involves several steps that require patience and care. In this guide, we’ll take you through a comprehensive journey of rendering, melting, and filtering beeswax, from raw combs to beautiful moulded products. Each method involves specific tools and techniques, with safety precautions necessary to keep in mind. Whether you’re a seasoned beekeeper or a curious beginner, we’re here to light your way to successful beeswax extraction!
1. Rendering beeswax – a necessary evil
Rendering beeswax is a crucial step for beekeepers and candle aficionados. It involves extracting the wax from the combs left behind after honey harvest. The process may seem cumbersome, but it allows you to repurpose a valuable resource. The purified wax can then be used for candles that burn longer and cleaner than paraffin wax, among other uses.
As you embark on rendering, be prepared to embrace the messiness of the task. Beeswax can be sticky, and when softened or melted, may lead to spills if not carefully handled. By integrating this process into your routine, though, you become part of a sustainable cycle, reusing supplies and limiting waste.
2. So, first, a few words of caution and guidance:
Before diving into beeswax extraction, it’s essential to understand the basic characteristics of beeswax and why caution is necessary. Beeswax is highly flammable with a low melting point of approximately 62-64°C (144-147°F). Hence, monitoring temperatures closely during melting and rendering processes is critical.
Moreover, beeswax often contains impurities such as propolis, honey, pollen, and brood. Proper methods are necessary to filter these out for clean and usable wax. Moreover, it can be an arduous and moderately time-consuming task, so prepare to be patient!
3. Cautions when working with beeswax
When working with beeswax, ensure you have the right protective gear. This includes gloves and long sleeves to protect your skin. Use tools specifically designated for wax to avoid cross-contamination with food or other materials.
Keep a fire extinguisher nearby as a precaution, especially when using open flame or appliances that may overheat. Remember, it is better to work slowly and steadily than to risk a mishap!
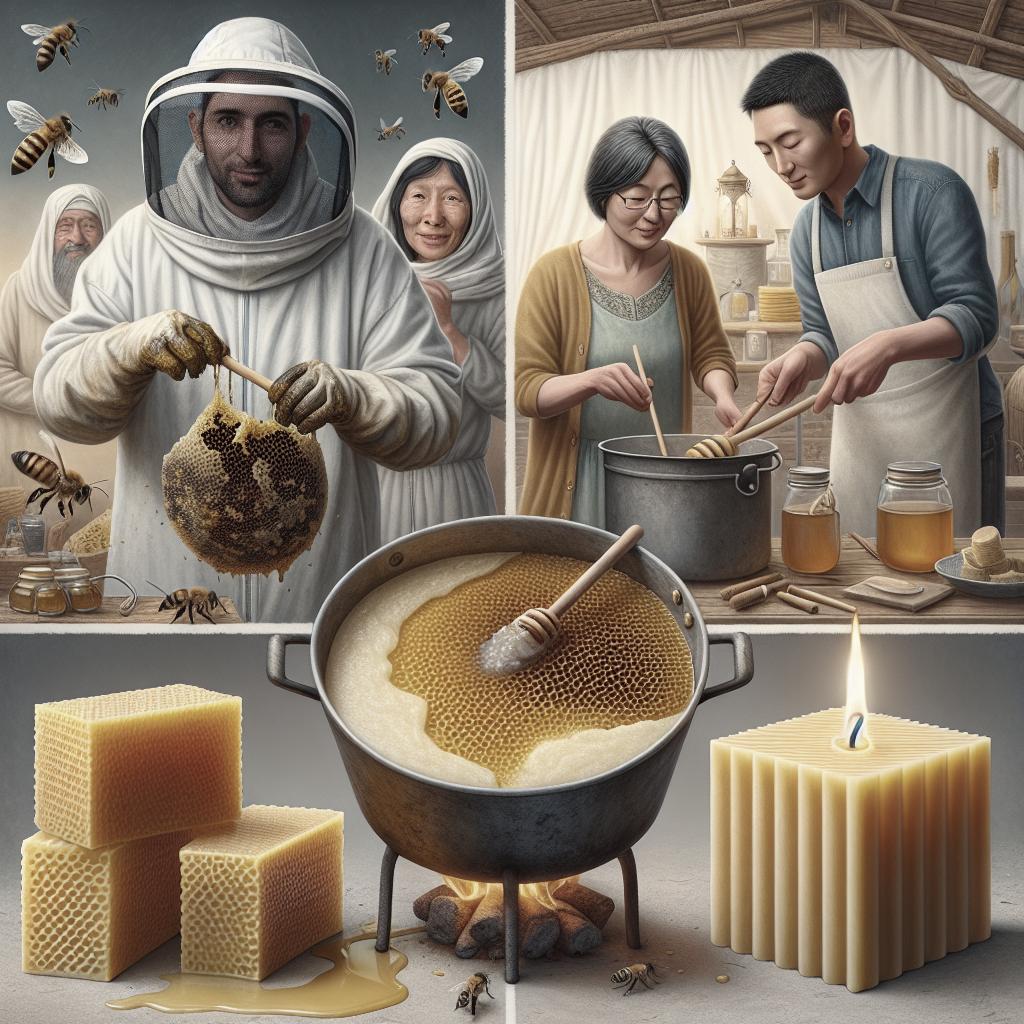
4. Rendering beeswax from comb and cappings
Rendering involves breaking down wax comb and cappings to extract pure beeswax. Cappings, being the fresh wax beekeepers trim from honeycomb, are notably more wax-dense than old brood comb.
Using a simple kit, including a knife and containers for water and wax, rendering can be completed over a few hours. To ensure a smoother extraction, separate cappings from comb carefully, considering that combs usually contain more impurities.
5. First melt
The first melt is about converting solid wax into liquid to separate impurities, such as honey and debris. Using a double boiler method, melt wax pieces over water without directly exposing them to heat sources.
This method reduces chances of burning, as the water maintains a stable temperature. Stir occasionally to facilitate even melting and prepare for purification.
6. Solar wax extractor
A solar wax extractor uses the sun’s energy to melt and clean beeswax. It’s an eco-friendly option that suits areas with ample sunlight. Consisting of a container with a glass cover, it relies on natural heat for melting.
Place the dirty wax on a mesh surface within the extractor and leave it under sunlight. As it melts, wax drips clear into a collecting container below. It’s slow but renders soft, pure wax ideal for candle making.
7. Steam wax extractor
Steam wax extractors use steam to dissolve wax into a liquid state. With a compartment for collecting melted wax, they are a more controlled and less labor-intensive option compared to solar extractors.
The process involves placing wax at the top layer and letting steam penetrate through. Finer results may require repetitive cycles but provide adequate cleanup of deeper impurities.
8. Rendering beeswax using boiling water
A boiling water method involves combining raw wax with boiling water. The wax melts and floats, freeing impurities to be left behind. Allow time for everything to cool before removing the solidified wax floating on top.
This process demands vigilance, as spilling boiling water can lead to burns. Filtering the mixture through cheesecloth also ensures finer results by removing residual impurities.
9. Strain molten beeswax and water
Once the beeswax melts, it’s vital to strain out impurities. Using a strainer cloth or fine mesh sieve, separate the molten wax from contaminants floating in the water.
Place the collected wax in a separate container, ensuring it solidifies clean. Regularly replace straining materials, as residues may build up, hindering filtration efficiency over time.
10. Rendering beeswax cappings with stovetop steamer
A stovetop steamer offers a convenient way to render beeswax cappings. By utilizing controlled steam heat instead of open flame, it reduces burn risk while gently melting wax.
Position wax within the steamer basket and let it sit over a low heat until fully melted. Doing so aids in separating cleaner wax from debris, though repetitive melting and filtering may be required.
11. Slow cooker to melt beeswax
Using a slow cooker provides a user-friendly way to melt beeswax. By maintaining a low, constant temperature, it prevents overheating while melting wax in batches.
Simply add wax pieces into the cooker, ensuring no direct contact with the container walls. Allow ample time for wax to liquefy and mix gently to promote even processing.
12. Second melt using a Bain Marie
Once initial impurities are removed, a second melt using a Bain Marie further refines wax quality. The technique involves placing a container of wax within a pan of boiling water, preventing direct heat exposure.
Repeat the melt twice, filtering wax between cycles to ensure optimal purity—used especially when creating sync-specific items like premium candles.
13. Supplies for Filtering Beeswax
Essential supplies for filtering includes strainers, cheesecloth, and secure containers for melted wax. Depending on the chosen method, you may also require burners, cookers, or solar kits.
Proper tools ensure efficiency, saving time and labor while preventing accidents. Having backup materials (cheesecloth or mesh) handy aids when rapid swapping during straining becomes necessary.
14. Fabric for filtering
The correct fabric for filtering plays a critical role in wax processing. Cheesecloth is a popular choice due to its fine weave, allowing liquid wax while trapping debris.
Other options include micron mesh or even coffee filters for desired fineness. Evaluating different fabrics helps decide what best suits your purification needs.
15. How to filter beeswax after second melt
Filtering after the second melt involves passing the slightly cooler wax through a strainer or filter while it’s still in a liquid state. This stage finalizes the wax purification process.
Suspend filters over cleaned containers and pour wax slowly through them. Effective filtering ensures any lingering debris, micro-impurities, or moisture, are entirely eliminated, yielding velvety smooth beeswax.
16. Beeswax moulds
Beeswax moulds are a creative way to shape and define your candles. From simple taper shapes to intricate designs, the choice of mould can make a big difference in the final presentation.
Wax can be poured into moulds when still warm and pliable, and once cooled, released to showcase finished products.
17. Rigid or silicone moulds?
When selecting a mould type, consider your design intent. Rigid moulds provide defined edges, perfect for traditional candle shapes, but may require a release agent.
Silicone moulds, however, offer greater flexibility, accommodating intricate designs with easy de-moulding. Choose based on the balance between support and detail.
18. Melting Beeswax the Easy Way
The easy way to melt beeswax, for those new to rendering, includes using simple appliances like a double boiler or slow cooker. Their controlled environments minimize burns, offering forgiving alternatives for beginners.
Slowly incorporate beeswax chunks, allowing gentle heating to break them down without inducing a burn. Such methods balance results with learning curves.
19. How to Filter Beeswax
Filtering beeswax properly makes a significant impact on the refinement of the final product. Whether using cheesecloth, specialized straining bags, or commercial sieves, methodically process wax through them.
Repetitive filtering is often necessary to remove smaller impurities, especially when striving for high-grade wax usable in sensitive applications like skincare or high-end candles.
20. Soft Set Honey – What is it & How is it Made?
Soft set honey is a distinct way of presenting crystallized honey with a spreadable consistency, achieved by controlling crystallization. This type of honey is appreciated for its rich, smooth texture akin to butter, making it a favorite for toast or baking.
Producers manage honey’s fine crystals, typically by storing it at lower temperatures. It becomes a viable product line for hobbyist beekeepers and provides another profit stream apart from wax-based products.
21. Hanna’s Bees Win at Irish Made Awards 2024
In exciting bee-product news, Hanna’s Bees earned accolades at the Irish Made Awards 2024 with innovative bee-related creations. The award highlights the increasing value of local and responsibly produced honeybees products in the region.
The victory shines a spotlight on Hanna’s commitment to sustainability and creativity, encouraging others to delve into sustainable bee ventures, promoting both bee health and artisanal craftsmanship.
22. BEEKEEPING TIP: How to Make Syrup for Bees
As seasons shift, providing adequate nourishment for your bees is vital. A syrup solution, typically made from sugar and water, substitutes natural resources during food scarcity periods.
Utilize a mix of two parts sugar to one part hot water, cooling it before offering to your bee colonies in feeding bottles or trays. Respond to their needs for enhanced productivity and hive strength.
23. How to Feed Bees in Autumn – Beginner’s Guide
Feeding bees in autumn involves preparing them for winter scarcity. Supplementary feeding ensures the colonies maintain energy reserves during colder months when food is scarce.
Protein patties, candy boards, or sugar syrup solutions work effectively. Monitoring consumption allows adjustments to feeding plans, safeguarding your bees’ overwintering capabilities.
Future Prospects
| Stage | Action | Method |
|---|---|---|
| Initial Rendering | Extract wax from comb and cappings | Double boiler, steamer |
| First Melt | Melting and rough filtering | Solar, steam, slow cooker |
| Second Melt | Fine filtering | Bain Marie |
| Final Mould | Pour into moulds | Rigid or silicone |