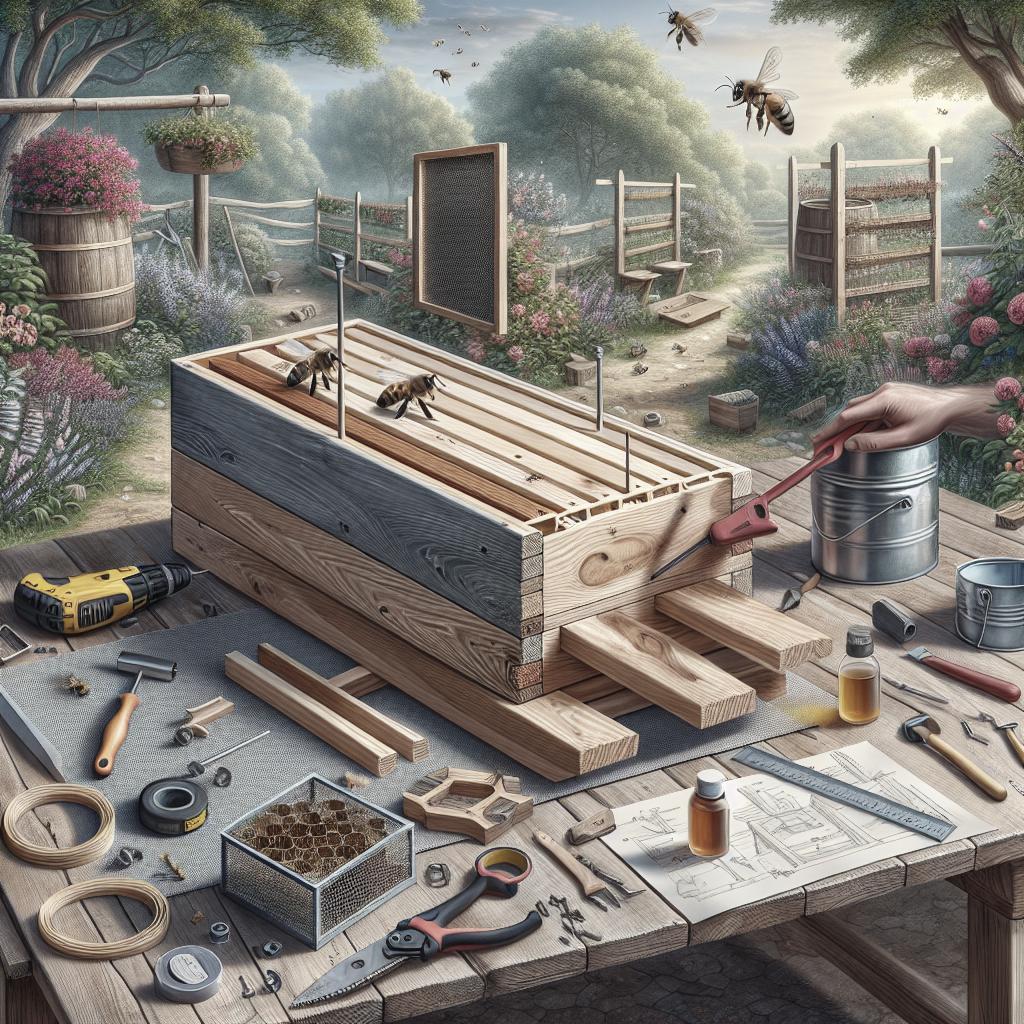
Build Your Own Beehive: A Comprehensive Guide
Beekeeping is not just a hobby; it’s a way to help the environment and improve your garden. With a little effort, you can build your own beehive and become a part of this rewarding practice. In this guide, we’ll cover how to construct a beehive from scratch, highlighting the skills you need, materials to gather, and a step-by-step process. Whether you’re a seasoned woodworker or a beginner, this project can offer both challenge and satisfaction. Let’s get started with understanding the anatomy of a beehive and what you’ll need to kick-start this buzzing venture.
Project Details
Skill
Building a beehive requires a moderate level of woodworking skill. Comfort with basic tools like saws, drills, and hammers is necessary. If you’re just starting in woodworking, consider practicing on smaller projects before diving into your first beehive.
Cost
The cost of constructing a beehive can vary depending on the materials you choose. Generally, expect to spend anywhere from $50 to $200. Opting for recycled wood or alternative materials can reduce the cost significantly.
Estimated Time
Time estimates can vary based on your experience and the specific plans you follow. Generally, you should set aside a weekend, approximately 10-15 hours, for completion. With experience, this time may decrease.
Anatomy of a Beehive
To successfully build a beehive, it’s essential to understand its basic structure. A beehive mainly consists of the base, several hive bodies or “supers,” an inner cover, and an outer cover. Each part serves a purpose, from housing bees and nurturing brood to storing honey and protecting the hive from weather conditions.
The base supports the hive and provides an entrance for bees. The bodies house the frames where bees build combs, lay eggs, and store honey. The inner cover insulates and provides ventilation, while the outer cover shields from environmental elements.
What You Need for This Project
Cut List
Before cutting your materials, create a comprehensive cut list. This should include dimensions for the base, hive bodies, frames, and covers. Using quality wood like pine or cedar is recommended for durability and longevity.
-
Base:
Cut two longer sides and two shorter ends based on desired dimensions. -
Hive Bodies:
Prepare panels for four sides, ensuring they fit snugly. -
Frames:
Cut to match the size of your hive body, allowing bees to move freely. -
Covers:
Create dimensions for an inner and outer cover, including an overhang to protect from rain.
How To Build a Beehive
Step 1: Cut All Pieces to Size.
With your cut list ready, use a saw to cut all pieces of wood to size. Precise measurements are crucial for a tight-fitting hive, ensuring minimal exposure to external elements that could harm the bees.
Step 2: Make the Base Sides and Entrance
Construct the base sides using your cut wood pieces. Attach these pieces using wood glue and screws. Don’t forget to create a small entrance hole for the bees.
Step 3: Assemble the Base Frame
Once the sides are constructed, assemble the base frame. Ensure the frame is level and sturdy to support the hive bodies above. Use clamps to hold pieces in place while securing with screws.
Step 4: Install the Screen and Top Base Strip
Add a screen to the base for ventilation, which can help with temperature control and pest prevention. Secure it tightly and install a top base strip to hold everything in place.
Step 5: Rabbet the Hive Body Panels
Rabbet joints are helpful for hive body panels, as they create tight-fitting corners. Use a router or rabbet plane to cut these joints, ensuring all panels fit together seamlessly.
Step 6: Assemble the Hive Body
With panels prepped, assemble the hive body by attaching all sides. Ensure all edges align correctly and the box is square, as a misaligned hive can lead to structural issues down the line.
Step 7: Make the Honeycomb Frames
Each hive body contains several frames. These frames are where bees build honeycombs. Use simple dado joints to construct these small frames, focusing on durability and fit.
Step 8: Mill Gaps Into the Frame Edges
Bees use space within the hive strategically. Milling small gaps into the frame edges ensures bees can move freely and maintain efficient honey production.
Step 9: Assemble the Frames
Connect frame pieces using wood glue and nails. Ensure each frame is the same size and fits inside the hive body without excess wiggle room, allowing bees to work efficiently.
Step 10: Build the Inner Cover
The inner cover improves ventilation and insulation within the hive. It should fit snugly over the top hive body. Cut an opening in its center to allow bees’ access to the outer cover.
Step 11: Assemble the Outer Cover
The outer cover is larger than the inner cover and features an overhang. This overhang helps rainwater run off, protecting the hive from moisture buildup. Use waterproof materials for longevity.
Step 12: Cap It
Add the outer cover to the top of the hive setup to complete the primary structure. Ensure it sits securely on the hive, protecting from wind and rain. Regular checks can prevent potential issues.
TIP: One Box May Not be Enough
Depending on the size of your bee colony, one hive body may not suffice. Consider building multiple bodies that stack together, allowing space for growth and greater honey yield.
Resources
There are numerous online resources available for beekeeping enthusiasts, from step-by-step videos to community forums where you can exchange tips and stories. Websites like Beekeeping for Beginners and the American Beekeeping Federation are excellent starting points.
Local beekeeper associations can also provide hands-on experience and mentorship, ideal for gaining practical insights that enhance your beekeeping journey.
Next Up In Woodworking
If you enjoyed constructing a beehive, further woodworking projects might pique your interest, such as building birdhouses, furniture, or even repurposing pallets into home decor. The skills you’ve honed in this project can be applied to various other rewarding and beautiful projects.
Exploring different projects can broaden your woodworking skills while providing endless possibilities to improve your craft and create functional art.
Final Thoughts
| Aspect | Details |
|---|---|
| Skill Level | Moderate woodworking experience recommended. |
| Estimated Cost | $50 to $200, depending on materials chosen. |
| Time Commitment | Approximately 10-15 hours spread over a weekend. |
| Core Structure | Comprises of base, hive bodies, frames, inner and outer covers. |
| Additional Resources | Online beekeeping communities and local beekeeper associations recommended. |
This HTML format includes a comprehensive guide on building a beehive, structured according to the specified subheadings. The guide touches on necessary skills, costs, and timeframes, alongside detailed steps and helpful tips for each phase of construction.